Cornell notes and the 6 Rs
Do now
Learn the 6 Rs Cornell note process and what good notes look like here, then set up your notebook and take your first Cornell page.
- Hand in
- Notebook sample: your first Cornell page (cues, notes, and a summary that answers the essential question).
- Where
- Turn this in at the drop folder with your district Microsoft sign-in, or hand it to Mr. Mendoza in class. Both count as submitted. Doing the activity in myPLTW does not.
You get two school days for every day you were absent, so this deadline moves with you.
Two students copy the exact same notes. One studies ten minutes and remembers, the other studies an hour and forgets. What is the first student doing to their notes that the second is not?
Learn the Cornell note process and what good notes look like here, then set up your notebook and take your first Cornell page.
- • You can name the and explain what each one does.
- • You can set up a Cornell page with cues, notes, and a summary.
- • You can write a summary that answers an essential question.
- When you take notes now, do you ever look at them again before a test? Be honest.
- What would make notes actually worth rereading?
- 1Icebreaker: one-word check-in. Say one word for how you feel about starting the year.
- 2Learn the : Record, Reduce, Recite, Reflect, Review, Revise, and where each happens on a Cornell page.
- 3See what strong notes look like: notes on the right, cue questions on the left, a summary at the bottom.
- 4Set up your notebook: title page, the Cornell layout, and review the notebook rubric so you know how it is scored.
- 5Take a short Cornell page on a one-paragraph reading, then write a two-sentence summary that answers the essential question.
What did this day actually feel like?
Cornell notes and the 6 Rs
We learned the note system we will use all semester. Cornell notes, which means the page is split so questions live on the left and notes on the right, and a summary goes at the bottom. Then the 6 Rs: Record, Reduce, Review, Reflect, Recite, Revise.
Honestly it felt like busywork until he made us do the Recite part out loud with a partner, covering the notes side and answering from the question side. I could not do it. I had written everything down and still could not say any of it back. That was uncomfortable and also the point. He said the 6 Rs are how we study for the WebXam starting now, a little every night, rather than cramming in December.
Turned in: lab notebook page → Lab Notebooks folder
Fiction. There is no such student. The lessons, labs and dates are the real planned course; the student, the classmates and the conversations are invented.
The same day, drawn.
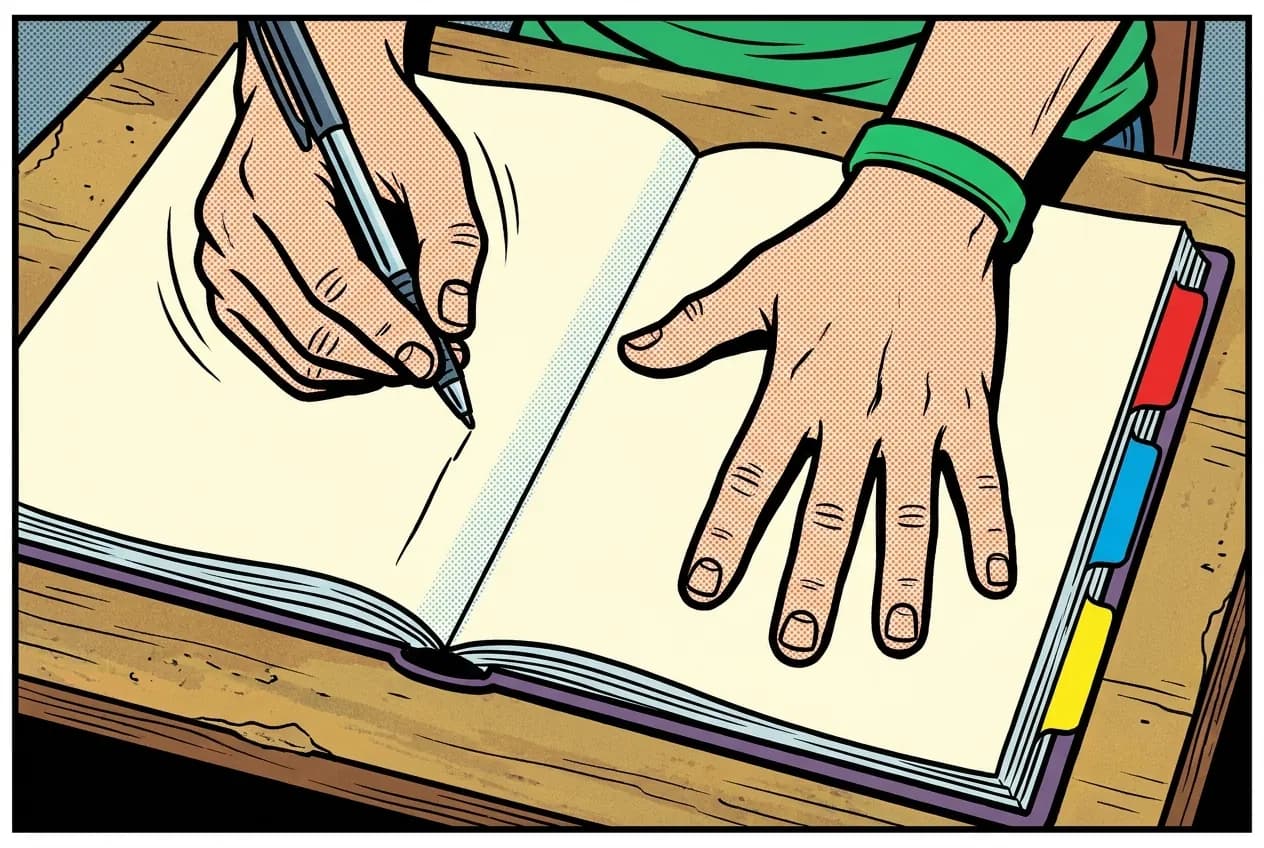
Cornell notes and the 6 Rs. Record, Reduce, Review, Reflect, Recite, Revise. I had written everything down and still could not say any of it back.
Fiction. There is no such student. The lessons, labs and dates are the real planned course; the student, the classmates and the conversations are invented.
🛠 Get unstuck · pick your level
🔑 Today's words · 5
Tap a word in the lesson for a plain meaning and one example. Recycled into next week's Do-Now.
Do the work · 80-minute blockfirst 5 min = hook▸
💡 Big idea: Notes are a process, not a page. The turn notes into a study tool you actually trust.
- 0-6Icebreaker: one-word check-in
- 6-25The and the Cornell layout
- 25-45Notebook setup + the notebook rubric
- 45-70First Cornell page on a short reading + summary
- 70-80Pair-share summaries and close
- • Notes in this class are a learning process called the , not just neat handwriting.
- • Today you set up your notebook the right way and take your first Cornell page.
- • Your notebook is graded against a rubric, and we will do periodic notebook checks.
- • The are Record, Reduce, Recite, Reflect, Review, Revise.
- • have a cue column, a notes column, and a summary.
- • For every unit you build a checklist of big ideas to check your own learning.
Orientation: daily icebreakers, the daily lesson pages and website, what notes should look like (Cornell + the 6 Rs), the lab notebook, lab safety, the PLTW web portal, and a Friday WebXam pretest. · and the
Day 3 of this lesson. Open this exact section in myPLTW (find it in Clever, Microsoft sign-in), then do the work below.
Do this: Set up your myPLTW (classroom.pltw.org) access and complete the course orientation checklist: routines, website, notebook, contract, and the .
Navigate the website and submit each kind of work with evidence.
Reach the day-3 checkpoint for this unit.
Orientation evidence due this week: completed website scavenger hunt, a notebook sample (first Cornell page), a signed contract with a myPLTW login screenshot, and the baseline WebXam pretest with a mastery goal.
The official PLTW activity stays inside myPLTW. If myPLTW will not open, use F1 and E1-E3 on this page to complete today's local evidence decision, then make up the official activity when access returns. Turn this in at the drop folder with your district Microsoft sign-in, or hand it to Mr. Mendoza in class. Both count as submitted. Doing the activity in myPLTW does not.
Check things off as you work, then submit. This tells Mr. Mendoza how you're doing so he can help the class. It does not replace turning in your producible through the submission route shown below.
Use the code Mr. Mendoza gave you, not your name. Saved on this device.
Orientation: daily icebreakers, the daily lesson pages and website, what notes should look like (Cornell + the 6 Rs), the lab notebook, lab safety, the PLTW web portal, and a Friday WebXam pretest. · Cornell notes and the 6 Rs
Set up your myPLTW (classroom.pltw.org) access and complete the course orientation checklist: routines, website, notebook, contract, and the .
Reach the day-3 checkpoint for this unit.
This is how Mr. Mendoza sees the class keeping pace with PLTW. Be honest, it only helps if it is accurate.
🎯 Learn the Cornell note process and what good notes look like here, then set up your notebook and take your first Cornell page.
- Icebreaker: one-word check-in. Say one word for how you feel about starting the year.
- Learn the : Record, Reduce, Recite, Reflect, Review, Revise, and where each happens on a Cornell page.
- See what strong notes look like: notes on the right, cue questions on the left, a summary at the bottom.
- Set up your notebook: title page, the Cornell layout, and review the notebook rubric so you know how it is scored.
- Take a short Cornell page on a one-paragraph reading, then write a two-sentence summary that answers the essential question.
Notebook check: Notebook sample: your first Cornell page (cues, notes, and a summary that answers the essential question).
Turn this in at the drop folder with your district Microsoft sign-in, or hand it to Mr. Mendoza in class. Both count as submitted. Doing the activity in myPLTW does not. Use the checklist just below and upload by 11:29 PM for full credit. Absent with an excused absence? You get two school days for every day you were absent, so this deadline moves with you.
| Task | Who |
|---|---|
| Icebreaker: one-word check-in. Say one word for how you feel about starting the year. | _______ |
| Learn the : Record, Reduce, Recite, Reflect, Review, Revise, and where each happens on a Cornell page. | _______ |
| See what strong notes look like: notes on the right, cue questions on the left, a summary at the bottom. | _______ |
| Set up your notebook: title page, the Cornell layout, and review the notebook rubric so you know how it is scored. | _______ |
| Take a short Cornell page on a one-paragraph reading, then write a two-sentence summary that answers the essential question. | _______ |
Working solo? Put your own name in "Who" for every row.
- You can name the and explain what each one does.
- You can set up a Cornell page with cues, notes, and a summary.
- You can write a summary that answers an essential question.
- 1Do thisLearn the 6 Rs Cornell note process and what good notes look like here, then set up your notebook and take your first Cornell page.
- 2Use this resource
- 3Submit thisNotebook check: Notebook sample: your first Cornell page (cues, notes, and a summary that answers the essential question).
- 4Submit it here
- 1Open the drop folder.
- 2Sign in with your district Microsoft account, not a personal one.
- 3Upload the file, named Lastname_Firstname__Assignment Title.
- 4Your own upload panel says Uploaded with a green check: that is your receipt.
Turn this in at the drop folder with your district Microsoft sign-in, or hand it to Mr. Mendoza in class. Both count as submitted. Doing the activity in myPLTW does not. Principles of Biomedical Technology (Principles of Biomedical Science) › Orientation: daily icebreakers, the daily lesson pages and website, what notes should look like (Cornell + the 6 Rs), the lab notebook, lab safety, the PLTW web portal, and a Friday WebXam pretest. › Notebook checkOpen the drop folder
Learn it · deck, reading, and vocabulary▸
The deck carries the prior idea forward, lets you inspect an analogy, maps the rule to biology, and ends with the same evidence decision and exit ticket used on this page.
Generated from this lesson's canonical data with a red-team citation check.
If you can read the daily page, you are never lost: it always shows the target, the steps, the resources, and what to turn in.
Notes are a process, not a page. The turn notes into a study tool you actually trust.
A detective board holds observations, possible explanations, and one next question.
- Which notes are direct observations?
- Which notes are explanations?
- What new evidence would separate the explanations?
Keep observations separate from explanations, then collect the evidence that can distinguish the options.
Biomedical investigations use controlled procedures and validated measurements, not intuition alone.
- • Board notes map to E1-E3.
- • Possible explanations map to the decision options.
- • The next question maps to the evidence-based action.
Driving question: Two students copy the exact same notes. One studies ten minutes and remembers, the other studies an hour and forgets. What is the first student doing to their notes that the second is not?
What you already know: If you can read the daily page, you are never lost: it always shows the target, the steps, the resources, and what to turn in.
New idea: Notes are a process, not a page. The turn notes into a study tool you actually trust.
Visual or model: F1. F1. A lesson illustration or teaching diagram for Cornell notes and the 6 Rs. Use it with E1-E3; it is a model or context image, not experimental or patient data. What to notice: Trace the labeled observation or evidence sequence before choosing an explanation.
- Observe or measure the relevant feature in and the .
- Organize the observation with a stable evidence ID.
- Apply this rule: Keep observations separate from explanations, then collect the evidence that can distinguish the options.
- Choose the option the evidence supports and state the limit of the conclusion.
Real biomedical example: Two students copy the exact same notes. One studies ten minutes and remembers, the other studies an hour and forgets. What is the first student doing to their notes that the second is not?
What the evidence supports: E1-E3 and F1 support the daily take-home when the response meets the stated success criteria.
What it cannot prove: The package does not support claims beyond this lesson's or any real patient diagnosis.
- • procedure: A clear, ordered set of steps followed exactly the same way each time to carry out a task safely and get reliable results.
- • routine: A consistent set of steps done in the same order each time, which builds good habits and makes work more reliable and efficient.
- • PPE: Personal protective equipment, the gear like gloves, goggles, lab coats, and masks worn to shield the body from chemical, biological, or physical hazards.
- • SDS: A data sheet: a standardized document listing a chemical's hazards, safe handling steps, and emergency measures for anyone using it.
- • : A note-taking layout that splits a page into a wide notes column, a narrow cue column for questions, and a summary strip at the bottom.
- • : A six-step learning cycle (Record, Reduce, Review, Reflect, Recite, Revise) used to turn class notes into deep, lasting understanding.
- • mastery: Knowing a skill or concept well enough to use it confidently under pressure, not just recognizing it on a slide.
- • : An assessment given before instruction begins so you can measure how much was learned by comparing it to a later test on the same material.
Use it now: Choose one decision option. Cite E1 and E3, then explain how the rule connects the evidence to your choice.
Go further, optional: The source links below are optional enrichment. Every fact required for today's local evidence decision appears in this lesson package.
The are Record, Reduce, Recite, Reflect, Review, Revise.
Limit: E1 supplies context or an observation; it does not by itself establish the explanation.
Notes are a process, not a page. The turn notes into a study tool you actually trust.
Limit: E2 is a teaching statement or comparison and must be checked against the task evidence.
You can name the and explain what each one does.
Limit: E3 supports only the result or product criterion named here; it cannot justify a broader clinical or causal claim.
PLTW-PBT-2026-08-27 · Simulated classroom evidence scenario
Your role: biomedical investigator
Decision: Your team must decide what the evidence from and the supports before submitting the notebook record named on the lesson page.
- • Select the option best supported by E1-E3.
- • Select a reasonable alternative and name the evidence it would require.
- • Delay the claim because the evidence does not distinguish the options.
Response: State one choice, cite at least two evidence IDs, explain the rule that connects them, and add one limitation. Submit it as the notebook record.
Claim ceiling: The supplied lesson evidence can support an observation, pattern, classroom mechanism, or next-step decision about and the . It cannot by itself prove causation, establish a real clinical diagnosis, or justify action outside this classroom task.
Students often think good notes means copying everything the teacher says as neatly as possible. The trap: notes that only record are passive, so it is reducing them to cue questions and reciting from those cues that turns a page into learning
Cue questions: What are the 6 Rs? What goes in each Cornell column?
Notes: The 6 Rs are Record, Reduce, Recite, Reflect, Review, Revise. Record notes on the right during class, then reduce them into cue questions on the left.
Summary: The 6 Rs turn notes into a study cycle: record, question, then keep revisiting until the ideas stick.
This model shows the level of evidence and organization needed to complete: Models the notebook sample: a Cornell page with cue questions, notes, and a summary that answers the essential question.
- Date and label the entry.
- Record the procedure, observation, or design decision clearly.
- End with what the evidence means and the next step.
Keep the structure. Replace the question, facts, measurements, and evidence. Then recheck units, vocabulary, and whether the conclusion goes beyond the evidence.
- CER:
- Claim, Evidence, Reasoning: make a claim, back it with evidence, explain your reasoning.
- SOP:
- Standard Operating Procedure, the exact steps to follow (especially in a lab).
- Tracker:
- Your PLTW progress log where you record completed evidence.
- myPLTW:
- The PLTW course site where you do the online activities. Find it in Clever with your Microsoft sign-in, right next to Schoology.
Tap the speaker to hear a term. Add two of these to your notebook glossary with a definition and an example in your own words.
Pick just 2 or 3 words from today and make them yours: write what each one means in your own words, name the context clue or evidence that helped, then give one example from what you actually did in Cornell notes and the 6 Rs. Try your own words first; the glossary is there if you get stuck. This is voluntary and counts as extra credit, so keep it short.
Saved on this device. Show Mr. Mendoza or add these to your notebook glossary to claim the extra credit.
Vetted readings and references for this unit. Use them to prepare, to catch up if you were absent, or to go deeper on today's target.
May require a free account. Use the class copy if you cannot sign in.
Check yourself · commit, then reveal▸
Claim ceiling for this check: The supplied lesson evidence can support an observation, pattern, classroom mechanism, or next-step decision about and the . It cannot by itself prove causation, establish a real clinical diagnosis, or justify action outside this classroom task.
Which of the 6 Rs happens in the left column of a Cornell page, and why does it help you study?
Write an answer and pick a confidence to unlock the key.
Go further and get help▸
What today's skills lead to. These are real health-science careers this course builds toward. Tap one to see, on the US Department of Labor's O*NET site, what the job actually involves, what it pays, and how fast it is growing.
Today's work depends on equipment and locations in our lab, so it cannot be finished from home. Do the part that travels: read the target above and the safety notes, and write what you already know.
Back in class. The in-room part has to be done in the room. See Mr. Mendoza on your first day back and he will run it with you before you work at the bench.
Class still runs. Complete the online activity above (it's self-guided). Need the concept taught without a teacher? Use this authoritative explainer:
CDC Laboratory Safety- CompleteEvery required part of the artifact is present, nothing left blank.
- AccurateThe science and the data are correct and match the evidence.
- Scientific reasoningYou explain your claim with evidence and reasoning (CER), not just an answer.
- Professional communicationClear, organized, labeled, and written the way a clinician or scientist would.
- SubmittedTurned in the right way, on the class site or handed to Mr. Mendoza in class, and confirmed. Not in Schoology: that is where the report-card grade appears later.